Previous posts in the series covered Microsoft Dynamics CRM 2011 Server and Microsoft Dynamics CRM 2011 Outlook Client installation. This post will explore some of the basic CRM Functionality provided by the new application.
Again, many resources are available on the web, such as:
- http://Crm.dynamics.com/en-us/support-overview
- http://crm.dynamics.com/en-us/on-premises
- http://www.sonomapartners.com
If you are interested in some hard-cover publications, try some of the following books:
Microsoft Dynamics CRM 2011 Step-by-Step
Working with Microsoft Dynamics CRM 2011
Microsoft Dynamics CRM 2011 Administration Bible.
Connect to the web site
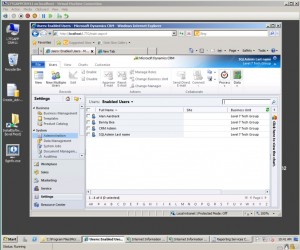
The first thing we did was to browse the web site from the IIS Management Console. We clicked on Settings -> System -> Administration to discover the AD user that we used to install CRM established with the CRM Administrator rule. We next added some users with different roles. Navigate to Settings –> Administration. Click on New to start the Wizard to create a single user from AD or Add Multiple Users from the AD with corresponding roles at the same time. The following screen shots the result on the server.
Let’s take a look at some basic functionality
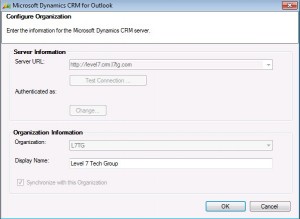
Start Outlook for the first time and it will bring up the dialog to connect to the CRM organization. Use the CRM URL and test the connection as the user with CRM access that is logged on to the workstation. You can also run this wizard from the Start – Microsoft Dynamics CRM 2011 Configuration Wizard.
Run the Configuration Wizard from All Programs -> Microsoft Dynamics CRM 2011. We ran into a problem at this stage. Our environment uses Exchange 2003 on Windows 7 using Outlook 2010. Apparently there is a communication problem with the automatic profile creation process that results in the Outlook 2010 Error 0x80070057. We found the fix is at OutlookPST Repair. Use the Manual setup procedure as recommended in this post.
Use the CRM URL and test the connection as the user with CRM access that is logged on to the workstation. This is shown in the resultant screen shot below.
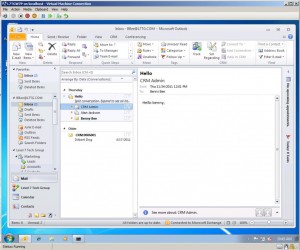
Next time you start Outlook, CRM will be integrated as an add-in accessible from the Outlook Menu. You see the user’s email container as well as the CRM container on the left side of the outlook window.
Now that we have the Microsoft Dynamics CRM 2011 Outlook client connected to the CRM server, it’s time to check out some basic functionality in the application. Launch Outlook as show in the following screen shot.
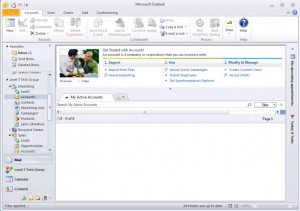
Notice the CRM menu option at the top of the screen. It toggles the focus from the mailbox connection to the Level 7 Technology Group container below it as shown below.
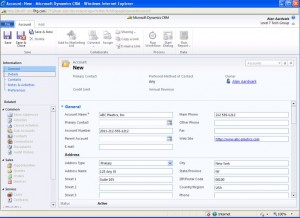
In this view, no accounts or contacts have been set up for the owner, Alan Aardvark. The next step is to create a new Account. From the CRM container (Level 7 Technology Group), click Marketing -> Accounts -> New from the ribbon to bring up the following window.
Fill in the fields and click the Save & Close button on the ribbon.
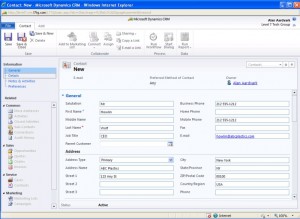
To create a Contact, Click the Contact link in the Marketing folder to bring up the following window.
Complete the form and click on the Save & Close button on the ribbon.
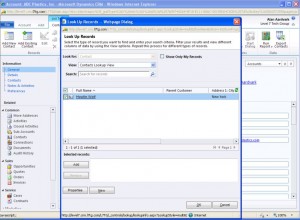
Now it’s time to link the Contact with the Account that we just created. One method is to select the Account record, scroll down to Contacts and highlight the section. Next, click the Add Existing Contact button on the ribbon. You can enter in the contact name in the lookup field. Select the record and click OK as shown in the screen shot below.
The Contact is now associated with the Account.
We have explored the basic fundamentals in CRM: Creating an Account, creating a Contact and linking the Contact with the Account. Other posts will expose additional functionality but for now this completes the three part Microsoft Dynamics CRM 2011 on-premise evaluation.
This posting is provided “as is” with no warranties, guaranties or any rights whatsoever. All content is based on the author’s experiences and opinions and is not intended to influence the actions of the reader.
