Continuing on from Part 3 of this series on SQL Server Failover Clustering, the next step after Creating the Distributed Transaction Coordinator (DTC) Service on the failover cluster is to Create the SQL Server instances on each participating node. This post will present the detailed steps that I took to create the SQL Server nodes to support the AdventureWorks database.
The SQL Server setup program is used to install SQL Server on each node participating in the cluster. Run the setup program and choose the installation option to “Add First SQL Failover Cluster instance.” On the remaining nodes in the cluster, choose the option to “Add another node to a SQL Failover cluster.”
Networking best practice
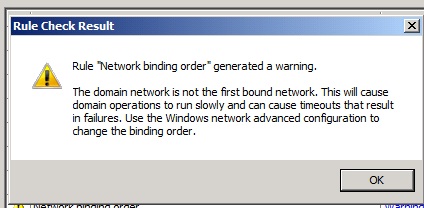
before you begin the creation of the cluster, take a moment to review the network connectivity on the cluster nodes. Failing to do that will give rise to a warning in the SQL Server setup as shown below.
It is a best practice to use two network adapters on each computer in your cluster. One adapter should be on a private network and dedicated to the cluster heartbeat. The other adapter is dedicated to cluster client traffic. On a two node cluster, the heartbeat adapters can be connected with a crossover cable. On multi-node clusters, the heartbeat NIC should be on an isolated VLAN. This guarantees that only cluster management traffic is passed over the connection.
Step one is to insure that you have two network adapters on each of your node members. Make sure that they are accepting traffic on their respective networks.
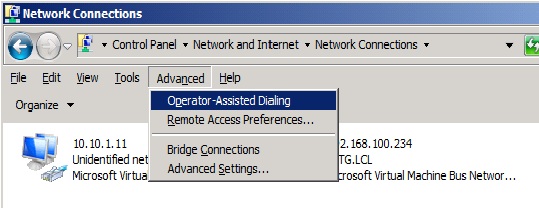
Second, insure that the node that the binding order of the nics is set appropriately. Go to Network Connections. Click Alt-N to bring up the Properties dialog as shown below.
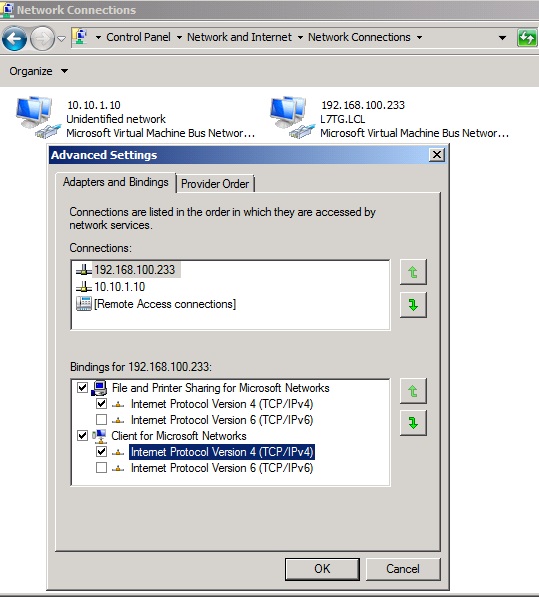
Adjust the binding order as shown below.
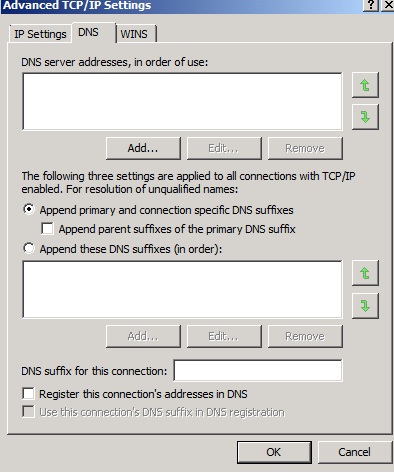
Click on the network adapter used for the heartbeat (private) to bring up the properties, then protocol and click in the advanced tab. In DNS, clear the checkboxes to “Append parent suffixes of the primary DNS suffix” and “Register this connection’s addresses in DNS” as shown below.
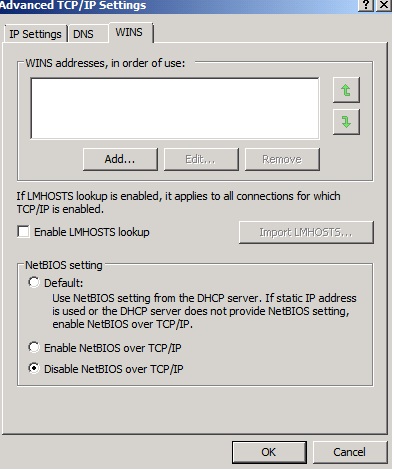
Disable NETBIOS under the WINS tab as shown below.
This completes the configuration for your heart beat and data networks. Once the cluster is created, I’ll show you how to insure that the networks you created are configured correctly.
Create the first SQL node
SQL Server Setup | Installation | Add First SQL Failover Cluster instance
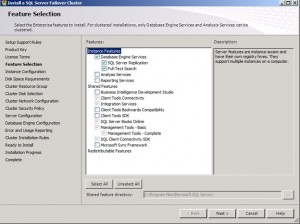
1. Check the boxes to install components that will be used in the cluster. All nodes must have the same components installed, be configured to use the same login identities for the services installed. Always install only the components required to support the application. Consult Microsoft document for specific “best practices” and recommendations. In this instance, I’m using the database engine. Click Next to continue.
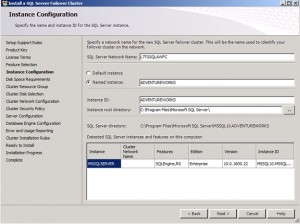
2. Use the Instance Configuration page of the SQL Server Installation Wizard to specify whether to create a default instance or a named instance of SQL Server. In this case a default instance of SQL Server (MSSQLSERVER) has already been installed, so this will be a named instance. The directory, registry and service names all reflect the instance name and a specific instance ID. The SQL Server failover cluster network name identifies the failover cluster instance on the network. Click Next to continue.
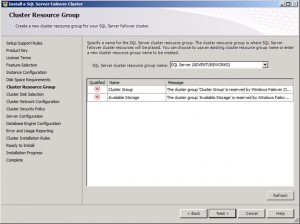
3. Use the Cluster Resource Group page to specify the disk where SQL Server virtual server resources will be located. Click Next to continue.
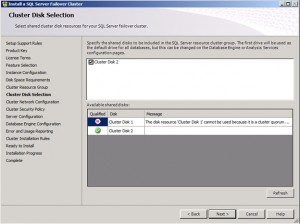
4. Select the cluster disk that will be used for database storage. This resource has previously been added to the cluster. Click Next to continue.
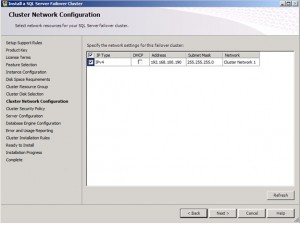
5. Select the network that will be used for all the nodes on the cluster. Do not choose the DHCP option. A fixed IP address is more reliable in the event the node is restarted. Click Next to continue.
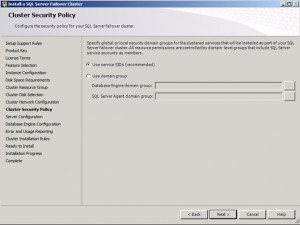
6. Accept the default setting for the Security Policy. Click Next to continue.
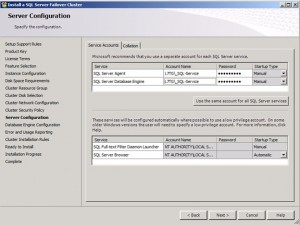
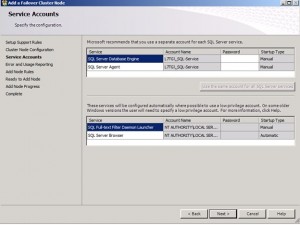
7. Assign a non-privileged domain account to the SQL Database Engine and SQL Server Agent. Leave the Startup Type set to Manual as the Failover Cluster will control the services. Click Next to continue.
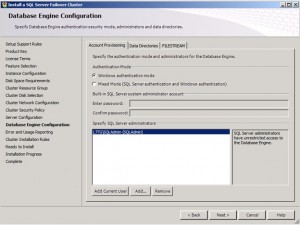
8. Generally, you will choose Windows Authentication. Click Next to continue.
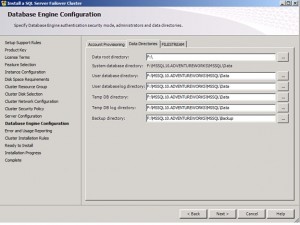
9. The Data Directories will be prefilled based on the disk resource (drive letter) that you have selected for the instance. Click Next to continue.
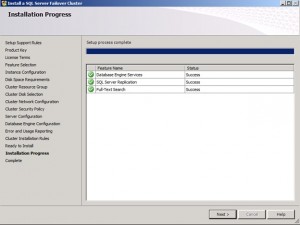
10. During the installation, any errors discovered will be reported. A successful installation of selected components has occurred. Click Next to continue and the Finish to complete.
Create additional SQL nodes
Setup | Installation | Add a node to a SQL Failover Cluster
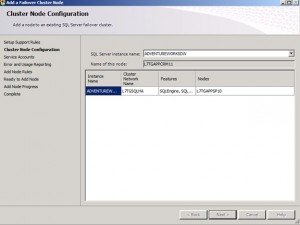
11. Run the setup program and select the “Add node to a cluster” option from the second node in this two node cluster. This setup option is run on all of the other nodes comprising the cluster. Note that the setup program is aware that the first instance has been installed on the L7TGAPPSP10 server. Click Next to continue.
12. Specify the same domain user credentials for the service accounts. This serves as an authentication step in the installation process. Click Next to continue.
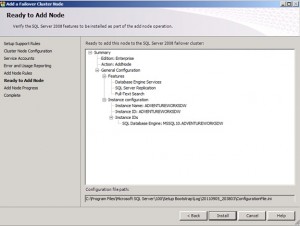
13. The components from the first node are automatically selected. Click Install to complete the installation on this node.
This completes the installation of SQL Server on this node and creation of a SQL Failover Cluster. Use Windows Failover Management Console to manage and failover the active nodes. Of course, the failure of any node will initiate an automatic failover.
Racap
The following ia a recap of the Windows 2008 Enterprise R2 Failover Cluster deployment of the SQL Server 2008 R2 Adventureworks Data base:
- L7TGAPP1 10.10.1.10, 192.168.100.233
- L7TGAPP2 10.10.1.11, 192.168.100.234
- Starwind SAN 192.168.100.200:3261
- LUN: 192.168.100.100:3261.Quorum, 512MB
- LUN: 192.168.100.100:3261.MSDTC, 1024MB
- LUN: 192.168.100.100:3261.Data, 2048MB
- L7TGSQLFCDtc 192.168.100.198
- L7TGSQLFC 192.168.100.199
- Cluster Network Name: L7TGAW
- Cluster Network IP Address: 192.168.100.197
- SQL Named Instance: ADVENTUREWORKS
- SQL Instance ID: ADVENTUREWORKS
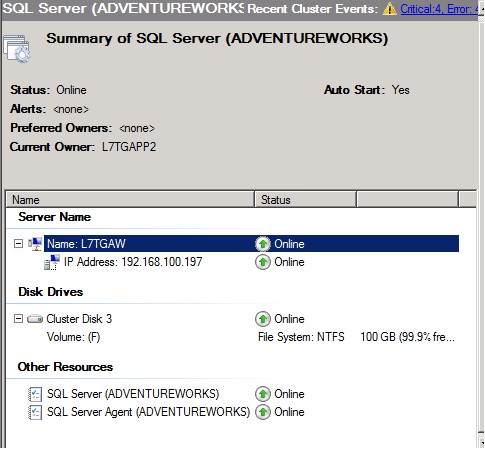
SQL Server Adventureworks Summary
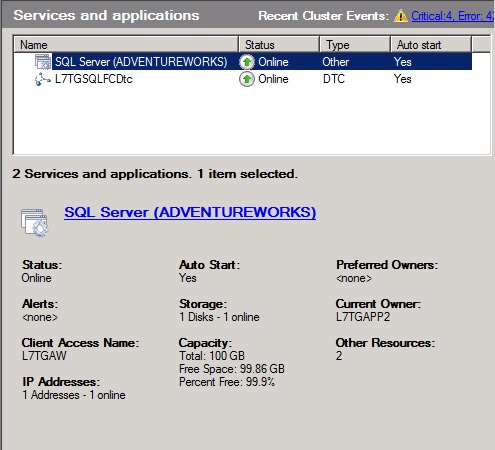
Clustered Services and Applications
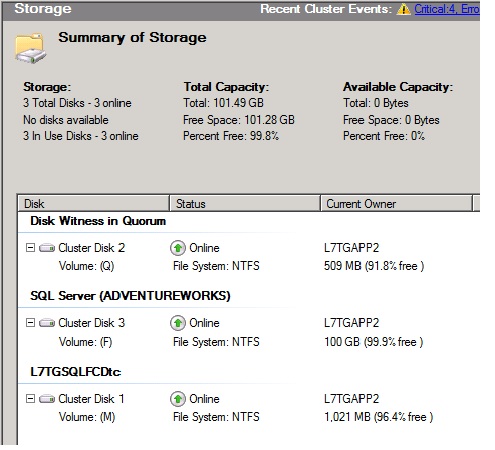
Storage Summary
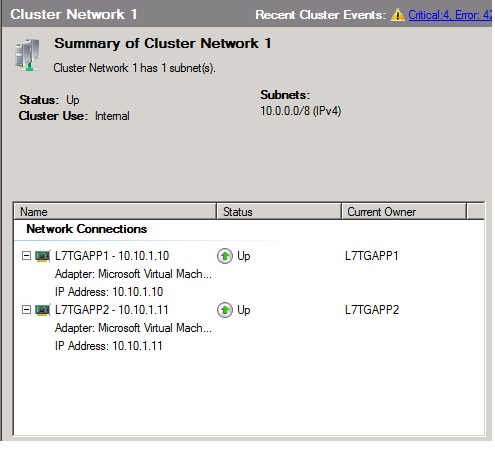
Cluster Network #1 (heartbeat)
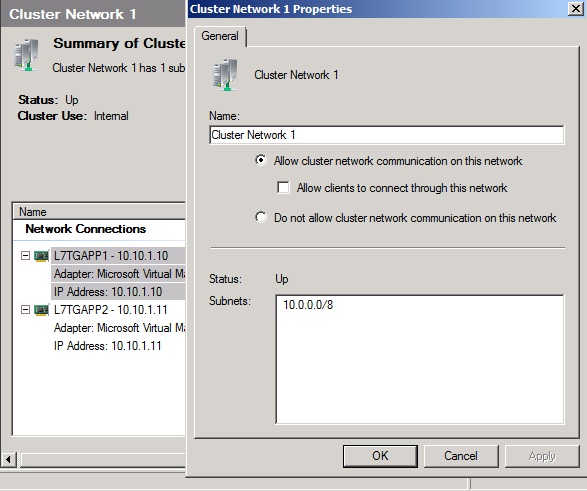
Network #1 Properties. Note that the “Allow clients to connect through this network” setting is unchecked. This forces the cluster to send heartbeat traffic across this network and restricts database connectivity to applications such as web servers.
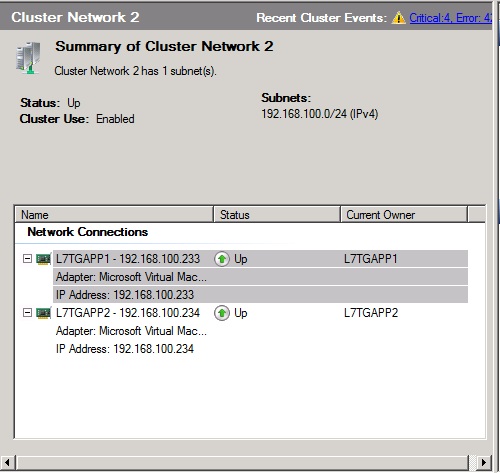
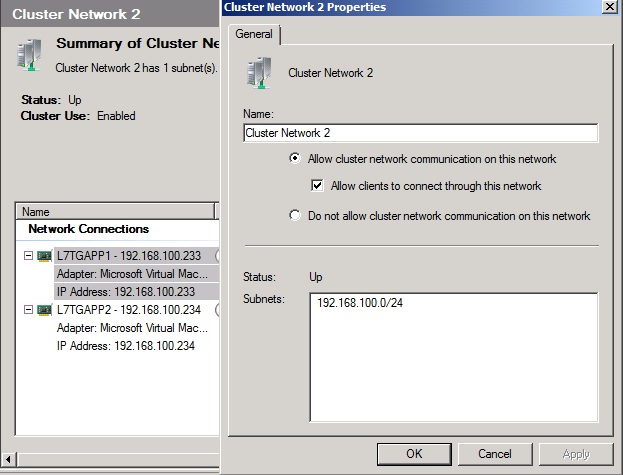
Cluster Network #2 (data)
Network #2 properties
This completes the four part series on SQL Failover Cluster High Availability.
This posting is provided “as is” with no warranties, guaranties or any rights whatsoever. All content is based on the author’s experiences and opinions and is not intended to influence the actions of the reader.

Pingback: SQL Failover Cluster – Part 3 | Level 7 TechnoBlog
Hello,
Please I am configuring this and I am stucked at System config validation error, Validating active directive error.
the server asdshpdb2.serverone.com does not have the service principal name (SPN) MSServerClusterMgmtAPI/asdshpdb2. This SPN is needed for cluster APIs to authenticate to the server by using Kerberos. To add SPNs on the server compter object, use the Set-ADComputer cmdlet with the -ServicePrincipalNames paramater
The site name of node asdshpdb1.serone.com could not be determied because of this error: could not get domain controller name from machine asdshpdb1.server.com
The site name of node asdshpdb2.serone.com could not be determied because of this error: could not get domain controller name from machine asdshpdb2.server.com
Connectivity to a writable domain controller from node asdshpdb2.server.com could not be determined baecause of this error: could be get domain controoler name from machine asdshpdb2
the server does not have the service principal name (SPN) MSServerClusterMgmtAPI. This SPN is needed for cluster APIs to authenticate to the server by using Kerberos. To add SPNs on the server compter object, use the Set-ADComputer cmdlet with the -ServicePrincipalNames paramater
Please assist