As mentioned in Part 1 of this series on SQL Server Failover Clustering, the next step after Creating the SAN Target is to Create the Windows Failover Cluster. This subject has been covered in Windows Failover Clustering http://level7techgroup.com/blog/?p=406, so this post will present the detailed steps that I took in the process to create a windows failover cluster.
Let’s get started.
Connect to the SAN Target
Launch the iSCSI Initiator from Administrative Tools.
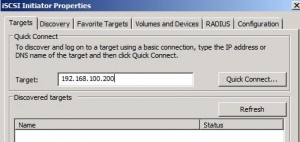
1. Use the iSCSI Initiator to connect the server to the SAN Target. Type in the IP Address of the SAN Target. Click Quick Connect.
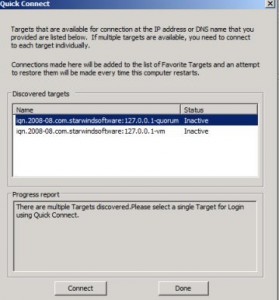
2. The available targets are displayed in the window. Highlight the ones you want to work with and click the Connect button.
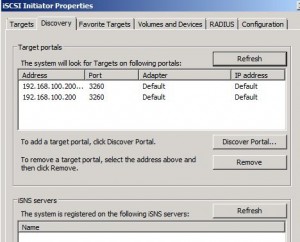
3. The SAN will appear in the Discovery Tab.
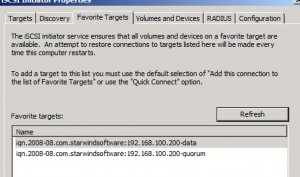
4. The SAN target files will appear in the Favorite Targets tab.
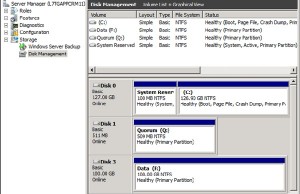
5. Use Server Manager | Disk Management to view the disks mapped to the SAN Target. Initially, you will see that they are offline. Click the icon to bring them online. Next, assign a drive leter, volume letter and format the disk.
Create the Failover Cluster
Launch the Failover Cluster Manager located in Administrative Tools. Click the Create Cluster link to start the Wizard. Note that the servers that will be cluster members must have the Failover Cluster Feature installed.
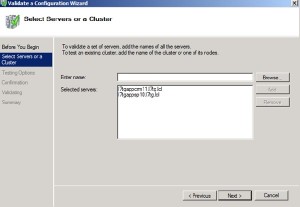
6. Run validation tests. Select the servers to include in the Cluster. As you browse or type in the name of the server, click Add and it will appear in the Selected Servers list.
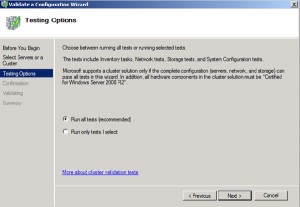
7. Select the default Run All tests as the best option. It provides for an extensive series of tests on the server, network, storage and failover mechanisms to insure that the cluster will perform as expected.
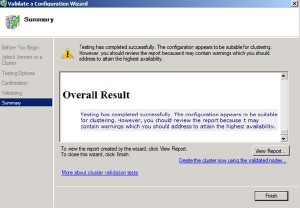
8. Any errors will be red flagged here. Click the View Report button to bring up the report in a browser. You are able to zero in on errors by following the hyperlinks provided to get a detailed explanation.
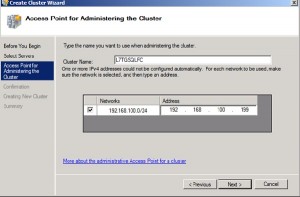
9. The Access Point defines the name as it will appear in the Management Console and the IP Address of the cluster on the network. In order for clients, i.e., web front-ends, to connect to the failover cluster, the device has to have a network identity. In the window, we’re using the cluster name (L7TGSQLFC) and an IP address (192.168.100.199). Click Next to continue.
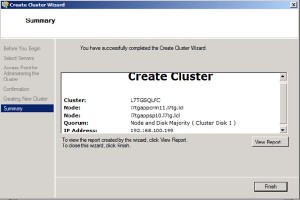
10. A lot of activity will be taking place while the cluster is being created. If there are no problems, the successful completion will be show. Click Finish.
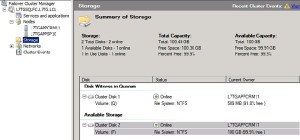
11. The new cluster (L7TGSQLFC.L7TG.LCL) appears under its fully qualified domain name (FQDN) in the Failover Cluster Manager.
This completes the Windows Failover Cluster creation. The next step is to Create the clustered Microsoft Data Transformation Coordinator (MSDTC) Service which is covered in Part 3.
This posting is provided “as is” with no warranties, guaranties or any rights whatsoever. All content is based on the author’s experiences and opinions and is not intended to influence the actions of the reader.

Pingback: SQL Failover Cluster – Part 1 | Level 7 TechnoBlog
jlmmy clicks couple equals connect http://forum.psikat.pl/index.php?action=profile;u=2365 breasts copy razor