SQL Server 2008 R2 supports two High Availability features: Database Mirroring and Failover Clustering. Database Mirroring has been covered in a previous post, SQL Server 2008 Database Mirroring. This blog post will cover the creation of a SQL Server Failover Cluster. SQL Server Failover Clustering relies on Windows Failover Clustering. That topic has been covered in Windows Failover Clustering. A SQL Failover Cluster then becomes one of the “clustered” roles such as WINS, DHCP, DFS or a File Share.
To create a SQL Failover cluster, we need to complete the following steps:
- Create a SAN target using Starwind Software Management Console,
- Create a Windows Failover Cluster,
- Create the clustered Microsoft Data Transformation Coordinator (MSDTC) Service,
- Create the SQL Cluster.
The Level 7 Tech Group lab is virtualized on Windows Server 2008 R2 Service Pack 1 using Hyper –V. The SQL nodes (servers) are using Windows Server 2008 R2 Service Pack 1 and SQL Server 2008 Service Pack 2. I’m going to present a scenario that will provide High Availability to the AdventureWorks database using two clustered SQL Servers. The first two steps were covered in the Windows Failover blog post. I’ll go over all of the steps in detail and provide screen shots at each strategic step. The screen shots are thumbnails, so just click on them to get the full size image. Let’s get started.
Create the Starwind SAN Target
The Starwind iSCSI software runs as a service on your server. Launch the Management Console. Right-click Targets to start the Wizard. The following table shows the steps to take.
Steps
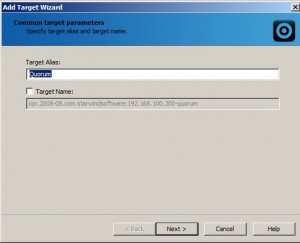
1. Specify the Target Alias. The Target Name is automatically generated. This name will be used by the iSCSI Initiator for its connection. Do not check the box to rename it. Click next to continue.
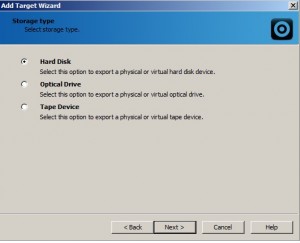
2. Specify the Storage Type. In our implementation, I’m going to use the Hard Disk storage on a separate volume. Click Next to continue.
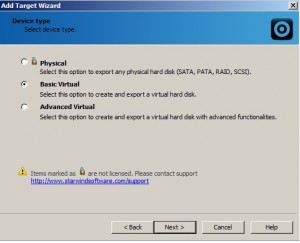
3. Specify the Target Device Type. The Physical option is locked out of the free version of Starwind. Select Basic to create a hard disk file. Click Next to continue.
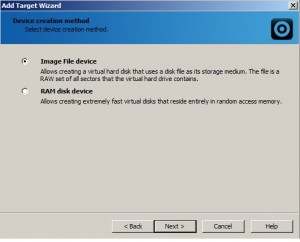
4. Select the Device Creation Method. Select an Image File Device. Click Next to continue.
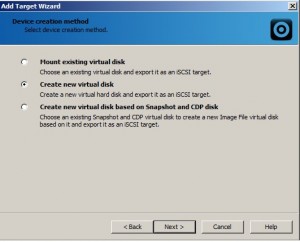
5. In the second Device Creation Method window, we’re going to Create a new virtual disk. Click Next to continue.
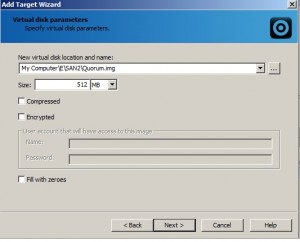
6. Specify Virtual Disk Parameters. Starwind’s software gets a bit hazy in the “New virtual disk location and name” field consists of the computer name \ drive letter \ path name. In this case it’s “My Computer\E\SAN2\Quorum.img.” SAN2 is the folder name on my E: drive and Quorum is the Target Alias defined in the first screen of the wizard. Specify the size of the file and any other parameters you feel important. Click Next to continue.
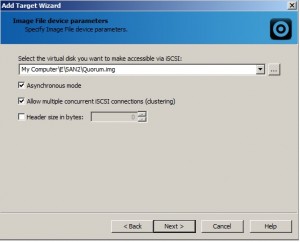
7. This screen defines the Image File device parameters. The name of the file is prefilled from the previous step. Check Asynchronous mode to allow simultaneous operations and Allow multiple concurrent iSCSI connections. The SAN Devices will not work unless these to selections are checked. Click Next to continue.
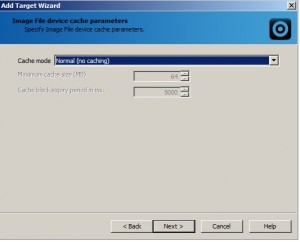
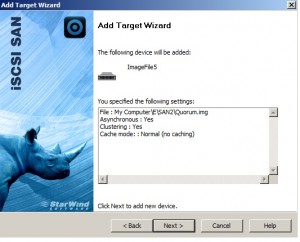
8. Specify the image file device cache parameter. In this instance, stay with the default setting, “Normal (no caching).” Click Next to continue.
9. Click Next to continue through the Target Confirmation page.
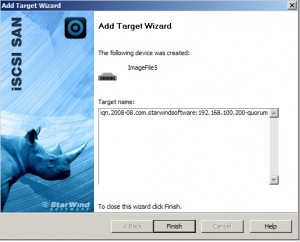
10. Click Finish to create the target.
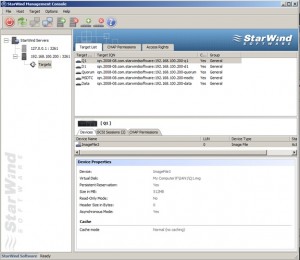
11. Repeat this process for the Data and MSDTC targets as shown in the Management Console below.
This completes the SAN Target creation step. The next step is to Create the Windows Failover Cluster which is covered in Part 2.
This posting is provided “as is” with no warranties, guaranties or any rights whatsoever. All content is based on the author’s experiences and opinions and is not intended to influence the actions of the reader.

Pingback: Blast from the past – Windows 2003 Failover Clustering | Level 7 TechnoBlog