
Replication is the process of copying a VM from a source host to a target host which may be a redundant host in the same site or more often than not to a Disaster Recover (DR) site. Veeam creates an exact copy, called a replica, registers the VM on the target and the job keeps the two VMs in sync with each other.
Veeam uses the same efficient technology creating local backups and applies it to replication. This includes using compression, change block tracking to eliminate duplicate and empty data blocks, network throttling, and WAN accelerators.
In a HYPER-V environment, two types are possible: snapshot, similar to Forward Incremental and Legacy, similar to Reversed Incremental. I use Reverse Incremental as it provides the quickest recovery time as the most recent backup is always a full backup. The only time you need to go back in time to a previous restore point is generally when corruption is suspected.
There are some gotcha’s that you need to be aware of when choosing a supported platform. The matrix is found in the User Guide. I ran into an issue when I tried to use a Windows 2008 R2 Hyper-V target host with a source Windows 2012R2 host.
Components
What do you need to setup and run Veeam Replication? Obviously, you need the Backup server along with a host and target server. Optionally you can set up a WAN accelerator, and an Offhost backup proxy. I’m not going to use the optional pieces because I don’t have a WAN and I’m using the Legacy type backup leveraging the replication from a backup repository
Replication Process
Here’s how it works. B&R triggers the source Hyper-V host to create a snapshot for a VM. After the snapshot is created, the transport services copy data using all of the compression, CBT, etc., from the source to the target Hyper-V host. Finally, the target transport services decompresses the data stream and writes results to the destination volume.
Network Mapping
In the event that the DR target has a different network than the source, Veeam will perform a network mapping updating the replica configuration file and re-registering the replica VM. When you failover the replica, it will match the DR site network. The Veeam console will mount the image-based disk of the replica and change the IP address found in the Windows Registry. Cool! If or when you failback, the replica address is changed back to the pre-failover state.
Replica Failover
If you experience a problem with your production VM, you can recover from a backup using a number of methods or you can failover to a replica. The replica will take over from the production VM. The failover can be to the current backup or to a restore point. So failover is simply using the replica on the target host.
When performing a failover, the state of the running VM is not changed so you can perform a failover while the original VM is running.
For a Legacy (Reverse Incremental) replica, Veeam first take a snapshot of the replica. Next, the replica is positioned to the proper restore point. B&R powers on the replica and the state is changed to “Failover” and B&R suspends operations on the original VM. All changes to the replica are written to the change log file of the snapshot.
Failover is considered temporary because you can undo a failover, failback or perform a permanent failover.
Permanent failover.
When you perform a permanent failover (commit), the replica takes on the role of the original VM. Permanent failover consistd of merging any changes to the replica and deleting snapshots so the running VM is at its current state. Next, the replica is removed from the Veeam console and the replication job for this VM will exclude the original VM from the backup.
Undo failover.
Veeam discards all changes made to the replica VM and gets it back to its pre-failover state. Since the original VM continued to run, there is no effect to it. Just the replica got reset to its pre-failover state.
Replication Job – How it’s done.
Click Replication Job from the Home tab and select, in this case, Hyper-V.
Simple replication to Hyper-V host. No change in networking involved in this DR scenario.

In the event the network or ip addresses are different in the DR site, check either one or both of the options to modify the behavior of the wizard at later steps. We’re going to keep things the same and perform a simple replication to Hyper-V host. No change in networking involved in this DR scenario.
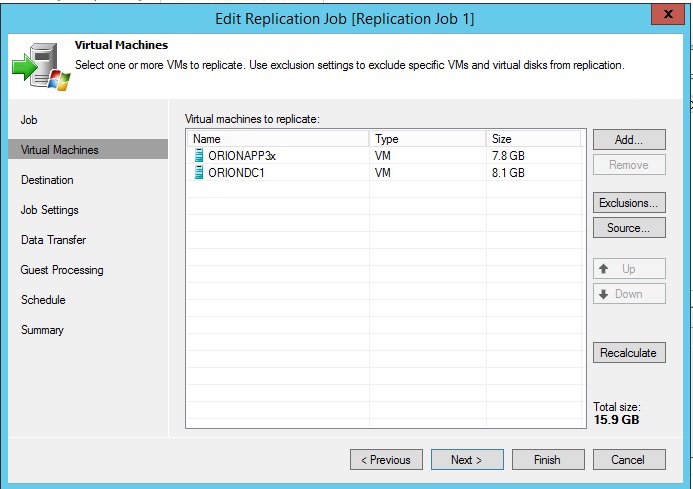
Click Add and then drill down to a particular host and select the VMs to include. Click the Source button to choose whether to add the VM from the host storage or from a Veeam Backup job. Selecting from a backup takes a load off of the host; however, it doesn’t allow for a periodic refresh between scheduled Veeam Backup jobs. That’s a limiting factor in the theoretical “always on” scheduling that is possible using the host directly.
You can click on Exclusions to choose VMs and/or vDisks. Also, specify order if it is important. If you do not the VMs are processed randomly.
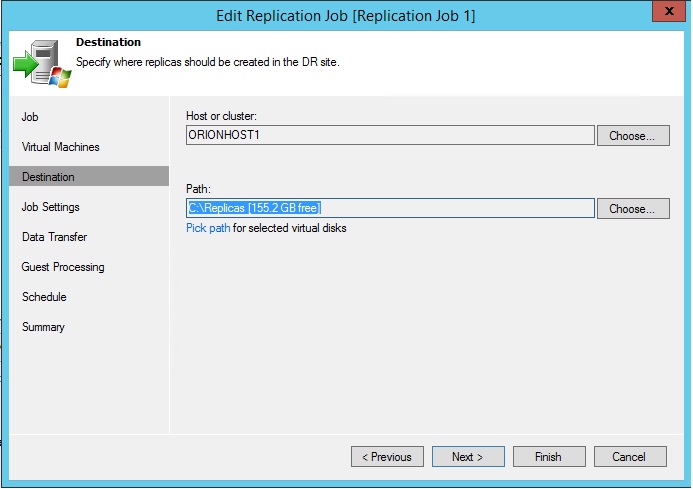
The Destination step allows you to choose the host. The path is the location in the file system on the host where the replica will be created. Alternatively, you can specify a share name (\\Computer\Share). I don’t know how fast that would be. I’m thinking slow.
If you selected Enable network remapping, at this point you will be asked to create a network mapping table that maps the source network to an equivalent target network.
If you selected the Enable Re-IP setting, then you will be asked to create IP rules that map the source IP to the an equivalent ip address on the target network.
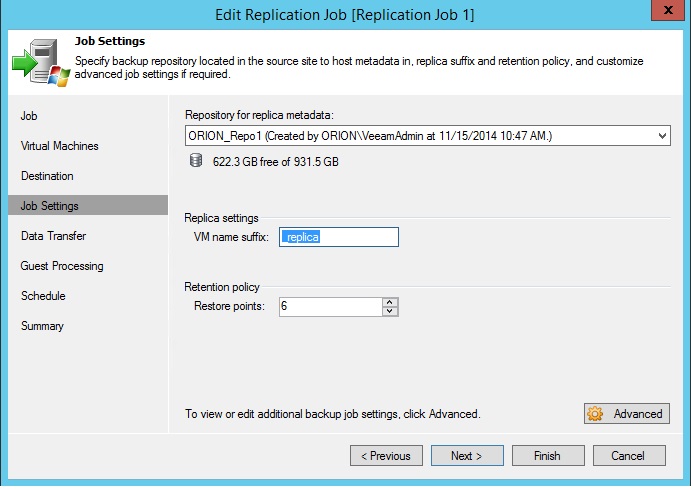
These job settings allow you to configure the metadata repository used by the source server, the name of the VM in VMware (not the hostname of the VM on the network) and the number of restore points. The maximum number in Hyper-V is 48. The earliest is deleted if there are more than what is specified.
Clicking on Advanced brings up a window with several tabs similar to what is found in the Storage window when creating a backup job. Refer to the User Guide for a detailed explanation.
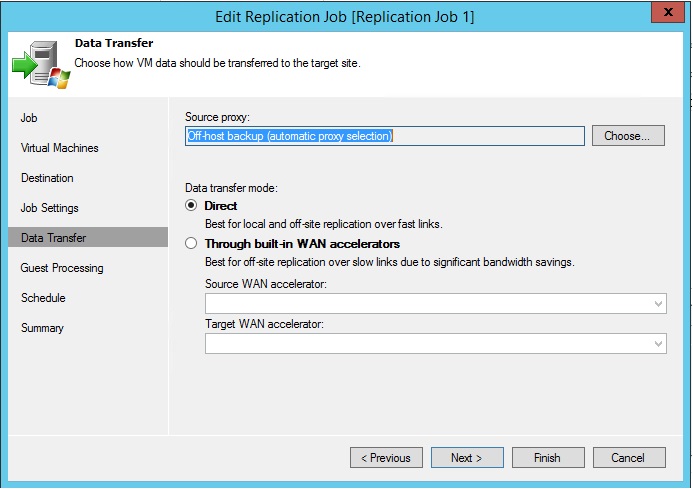
This step allows you to specify a WAN accelerator if you have a slow link to the DR site.

Application-aware processing behaves just like it does in a backup job. It injects a run-time service that interfaces with the Microsoft VSS writers in order to produce a transactionally consistent replica. This is important with SQL Server replicas to insure the transaction log files are in a consistent state.
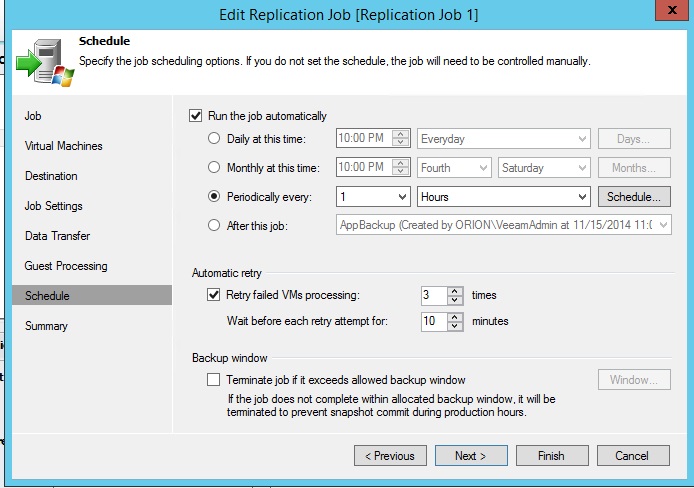
The final screen allow you to specify scheduling for the job. You can schedule it down to 15 minute intervals.
Replication Status
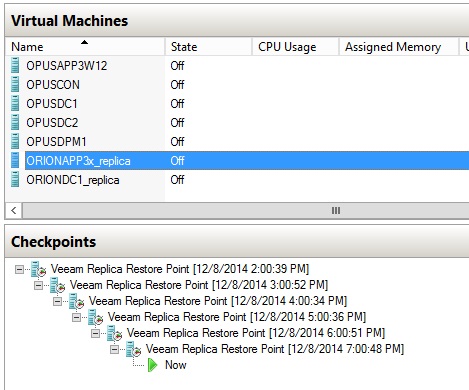
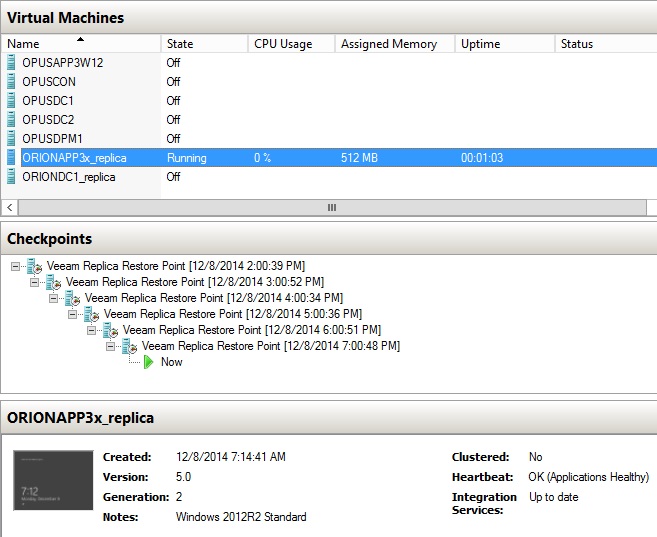
On the target Hyper-V host you can see the replica restore points which are called checkpoints. If you watch this in real time, the host creates a temporary snapshot (checkpoint) and then removes it when the replication task completes.
Failover
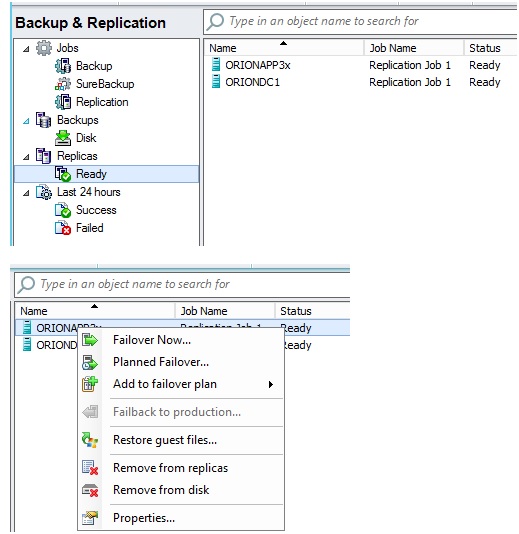
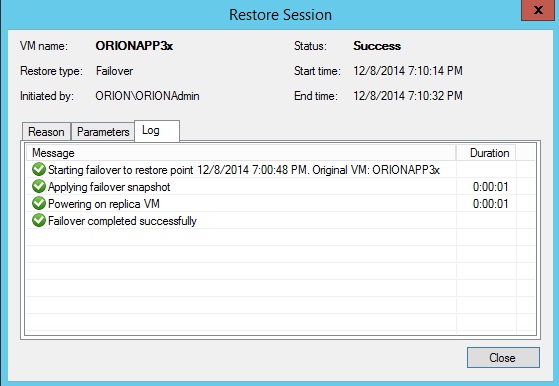
Let’s attempt a failover operation from the B&R console. This is one way to start the wizard. Optionally, you can go to Home –> Restore –> Hyper-V.. In the Restore from Replica section, select Failover now. The Replica must have been replicated successfully and in a “Ready”
Select the VM(s). Click Add VM from Replica.
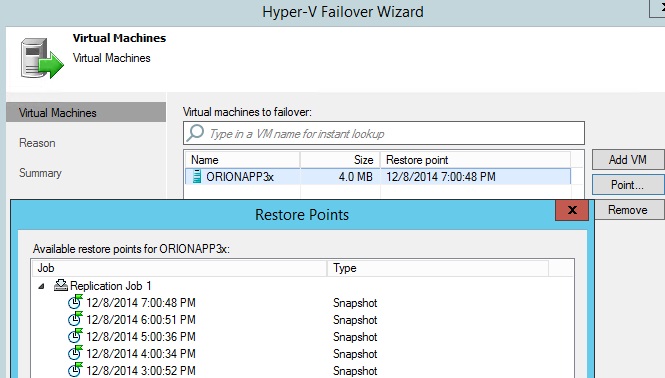
Choose restore points
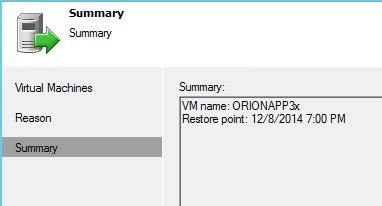
You can optionally type in a reason. From the Summary page, click Finish to start the operation.
In the Hyper-V console, observe the running replica.
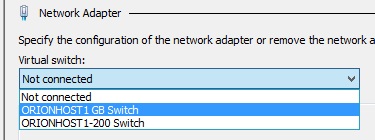
Go to VM Settings and connect a network.
Ping the VM to get a response to a Ping.
Open an RDP session from the Hyper-V console or use Remote Desktop Connection from another server.
You should be able to successfully establish a session on the replica. The original server is shutdown.
Failback
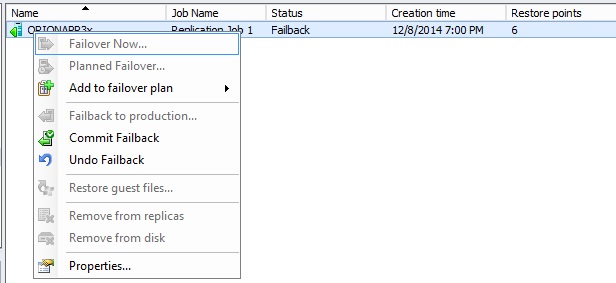
In the Running jobs section of the B&R console, right click the running job.
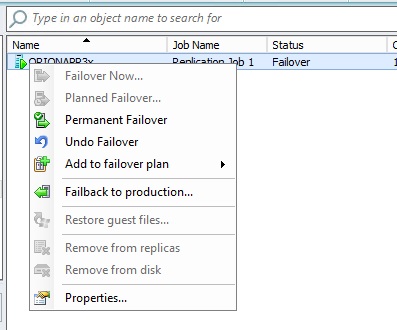
Here, you can choose one of the three actions: Choose Permanent Failover to stop the replication job and leave the original VM powered off, Undo a Failover to revert a permanent failover. And Failback to Production to revert back to the original VM from a non-permanent failover. In effect, finishing a test case.
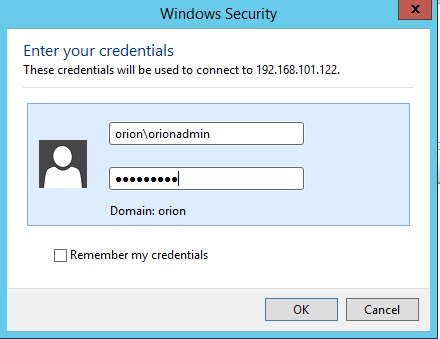
Fail back to production

Notice that the choices are very similar to one of the restore operations.
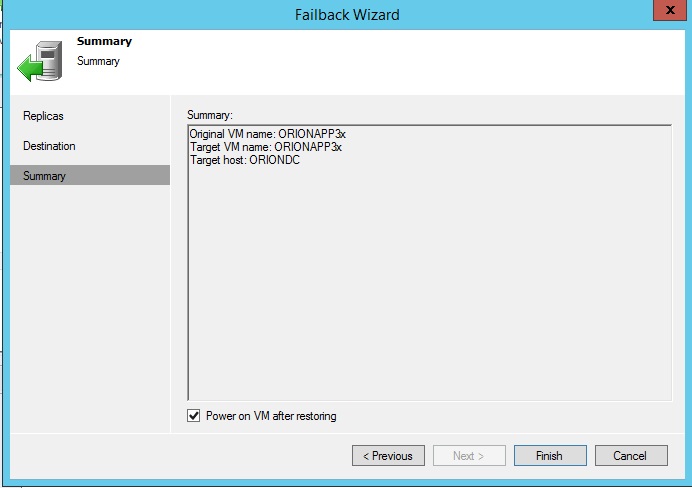
During the operation the vdisks will be compared.
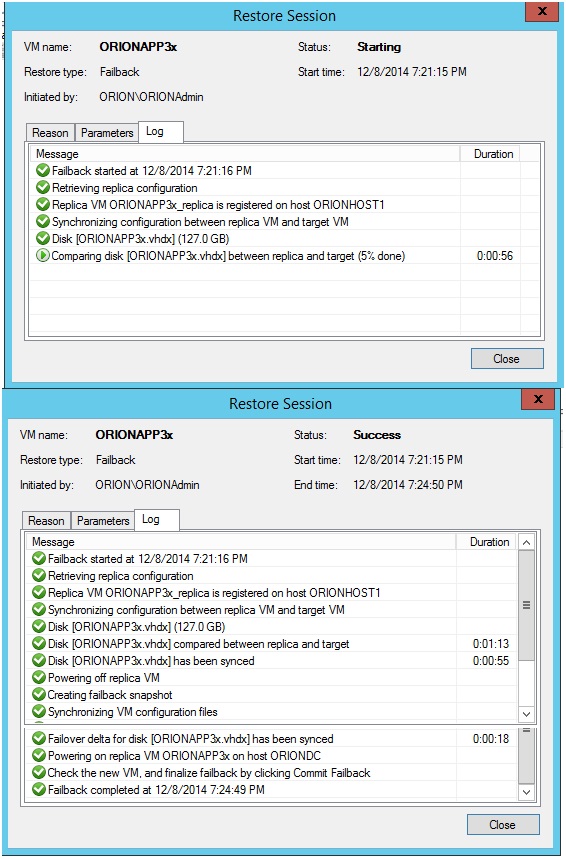
Click on the running job.
Commit Failback.
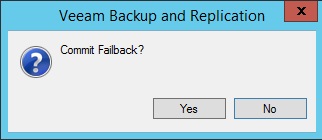
Click yes to revert back to the original.

That about does it for this post. I’ve reviewed Replication, the types of DR operations available after completing a successful replication and walked through a simple Failover and Failback operation.
This posting is provided “as is” with no warranties, guarantees or rights whatsoever.

Veeam Cloud Connect includes a mobile-friendly portal for failover, which you can easily brand as your own . Learn more