
I’ve written about using Powerline adapters in the electrical wiring of your home or office to extend the typical Ethernet LAN in an earlier post. Using two adapters, turns your electrical wiring into one giant Ethernet wire. This is a great solution if you have a residence or office space that is not wired for Ethernet or if you have poor WiFi reception in various parts of the building.
The solution kind of reminds you of the old coaxial cable used in the 1990’s to snake around building interiors with “T” connectors to “splice” into the main line to allow a cable segment to connect to the PCs network interface card. I’ll bet this brings back fond memories of troubleshooting “connectivity” issues caused by someone unplugging the “T” connector or removing the “end cap” from the cable allowing the precious data bits to fall off the end of the wire onto the floor. It’s not likely that the electrons from your home 120v electrical system will spill out on the floor from an empty receptacle, even if the child-proof plastic plugs are removed.
Back to the topic at hand. In a typical residence, the PC is placed in an “office” somewhere in the house, for instance, the kitchen, den, hallway, or a bedroom. It may be “wired” to give you a faster, more reliable, secure connection than WiFi. Or perhaps, you don’t have a home/office wired for Ethernet and rely on a WiFi connection but your reception is spotty. This is especially true if you have a multi-level residence. The WiFi cone is oriented to spread horizontally, not vertically. Think of the light beacon of a lighthouse.
A pair of Powerline Adaptors from Netgear that I purchased from Staples solved my problem in the first instance. We needed office space in separate rooms in a townhome without any network cabling. Drilling through walls or laying a cable on the floor between rooms was not an option.
The solution was the Netgear product. Simply connect an Ethernet cable from one port on your router (mine is a Lynksys WRT54G) to one of the Netgear Powerline adaptors. Plug the Netgear adapter into an electrical outlet. next, plug the other adapter into a wall outlet in the other room and use an Ethernet cable to connect your computer to the adapter. Voila, you’re connected.
Now to the second issue that could arise – poor WiFi signal quality or “no bars” in another area of the home office This is generally the situation in a multi-story dwelling where you need to extend your WiFi signal to a different level.
If the space is wired, one solution is to purchase an additional router. Instead of connecting it to the modem, connect it to your existing network. Enable WiFI and configure it with the same SSID and frequency channel that exist on your primary router. Now both routers are broadcasting on the same network
Some people say that you can just purchase a WiFi extender, but I don’t buy into that. An extender would help if you wanted to go horizontally but not so much vertically. Besides, how do you boost a weak signal? I’ve used the wired technique in commercial office space that is Ethernet-wired and needed to extend WiFi to multiple areas of the office space on each level. There’s probably nothing to prevent you from deploying additional wireless routers on the same level but that’s carrying it a bit far and if you need to do that, then seek a more robust commercial solution. When using the multiple router solution, remember to configure the DHCP scope on each router with it’s own range of addresses in the subnet you’re using for your wireless network. If you are using the typical class C network, 192.168.1.1-255, consider the following:
- 192.168.1.10-100 for your wired clients,
- 192.168.1.101-110 for wireless segment on router #1,
- 192.168.1.111-120 for wireless segment on router #2,
- 192.168.1.121-130 for wireless segment on router #3.
Back to WiFi on multiple levels. Since I wasn’t buying the WiFi extender to boost a bad signal, I wondered if the Powerline technology offered a wireless solution. Indeed, the folks at Linksys had an answer. The Linksys (http://store.linksys.com/products/linksys-powerline_stcVVcatId554690VVviewcat.htm) offers what they call “Powerline HomePlug Adapter Kits.”
Linksys offers four solutions – 2 wired and 1 wireless:
The PLEK500 kit is a pair of 1 port Gigabit adapters – great for streaming media. This uses a cable to connect the remote adapter to the media device or PC.
The PLEK400 kit consists of two 1 port adapters that are 10/100, 200mbps.
The PLWK400 kit contains one 1 port adapter and the other a WiFi access port.
The PLSK400 kit contains one 1 port, and one 4 port adapter. These are 10/100 that run 200mbps.
I purchased the PLWK400kit. Set up was simple. Plug in the two adapters, press the pairing button on the “wired” adapter and the setup button on the WRT54G router and the pair activate. By the way, the setup buttons are the ones with the two arrows pointed in a circle. When you use your iPhone, iPad or PC to search for a network, you see something interesting – two advertised networks with the same SSID. This is very disconcerting because it did indeed extend my network but also provided an unsecured network connection point in the other advertised SSID. That’s not good!
Dig deeper into the box and you will find a CD with documentation and a utility program called Cisco Powerline AV Utility. The installation/operations guide is vague to the point of being useless. I called up Linksys support, no simple task, I might add. To save you LOTS of time and trouble, the number to call is (800) 326-7114. Persevere and explain that you need help with your “Powerline PLWK400” device. You will find someone who knows something or someone who knows someone who knows something. Get it? It’s not a popular device and the person who accepts your call is probably reading that useless installation guide while you’re explaining the problem.
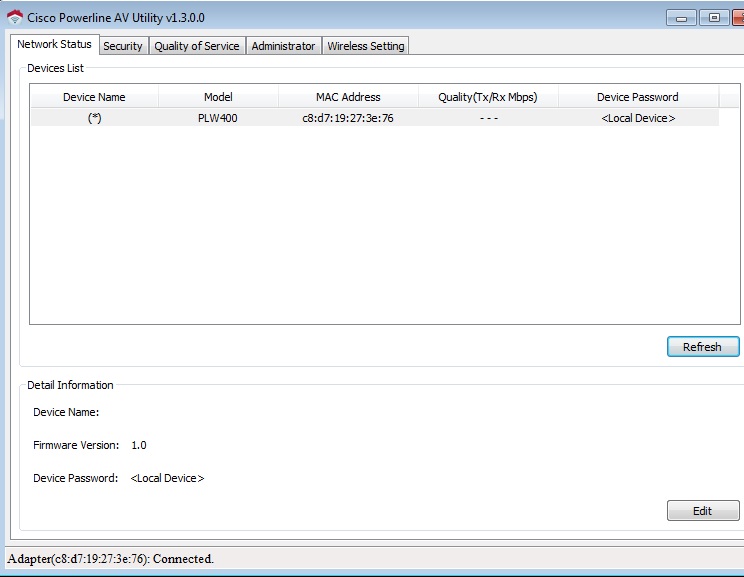
What’s the solution? Install the utility on a laptop or a PC plugged in to the Ethernet port on the wireless adapter. The adapter uses the port in the same way as a router uses the yellow in-port as the management interface. The Cisco Powerline AV Utility will scan the network searching for the device.
Once it’s found the device, click on the Wireless Setting tab to configure the Network Name (SSID), Security Mode and Passphrase.
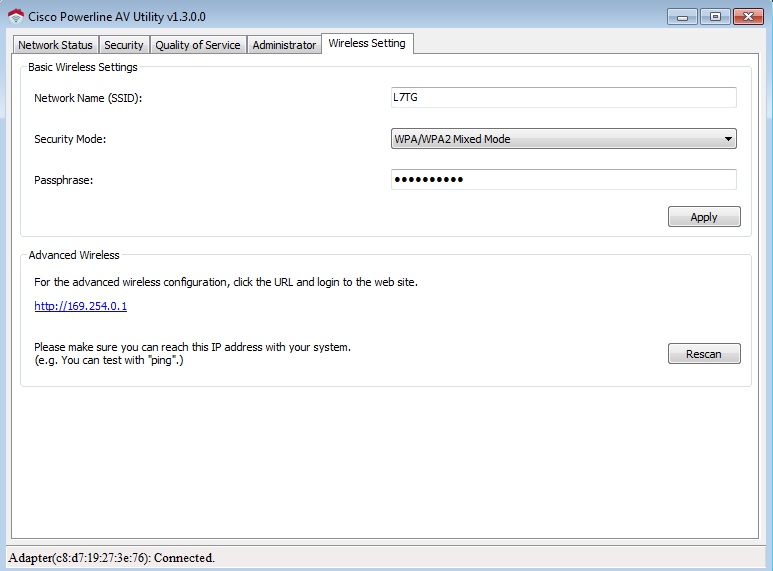
Click Apply to save the settings. When you browse the network connection searching for a wireless connection, you should see the single SSID representing your network.
Once you set this up, you have an access point that allows you move freely about your space without encountering “dead” spots. The bonus for me was the ability to add the AppleTV media device on the same level as the PLWK400 adapter. But that’s another story.
This posting is provided “as is” with no warranties, guarantees or rights whatsoever.